
You do not have to earn a Perseid photo by wrecking the next morning. The American Meteor Society’s DSLR meteor guide explicitly includes the sensible version of the job: start the camera, check it after the first hour, set an alarm to retrieve it at dawn, and go to bed.[1] That matters. Unattended meteor photography is not a lazy shortcut or a social-media hack; it is a normal way to collect sky time when the camera can keep working longer than the photographer reasonably should.
For Perseid meteor shower photography without staying up late, 2026 is unusually friendly. The peak arrives on the night of August 12–13, and the moon is essentially out of the way: a new moon on August 12 with 0.2% illumination means dark skies during the main event.[2][3] Space.com lists the Perseids at about 100 meteors per hour under ideal conditions and notes that meteors become visible from roughly 11 PM local time onward.[3] If your bedtime is earlier than that, the answer is not to sit outside resenting your alarm clock. Set the rig before bed and let it run.
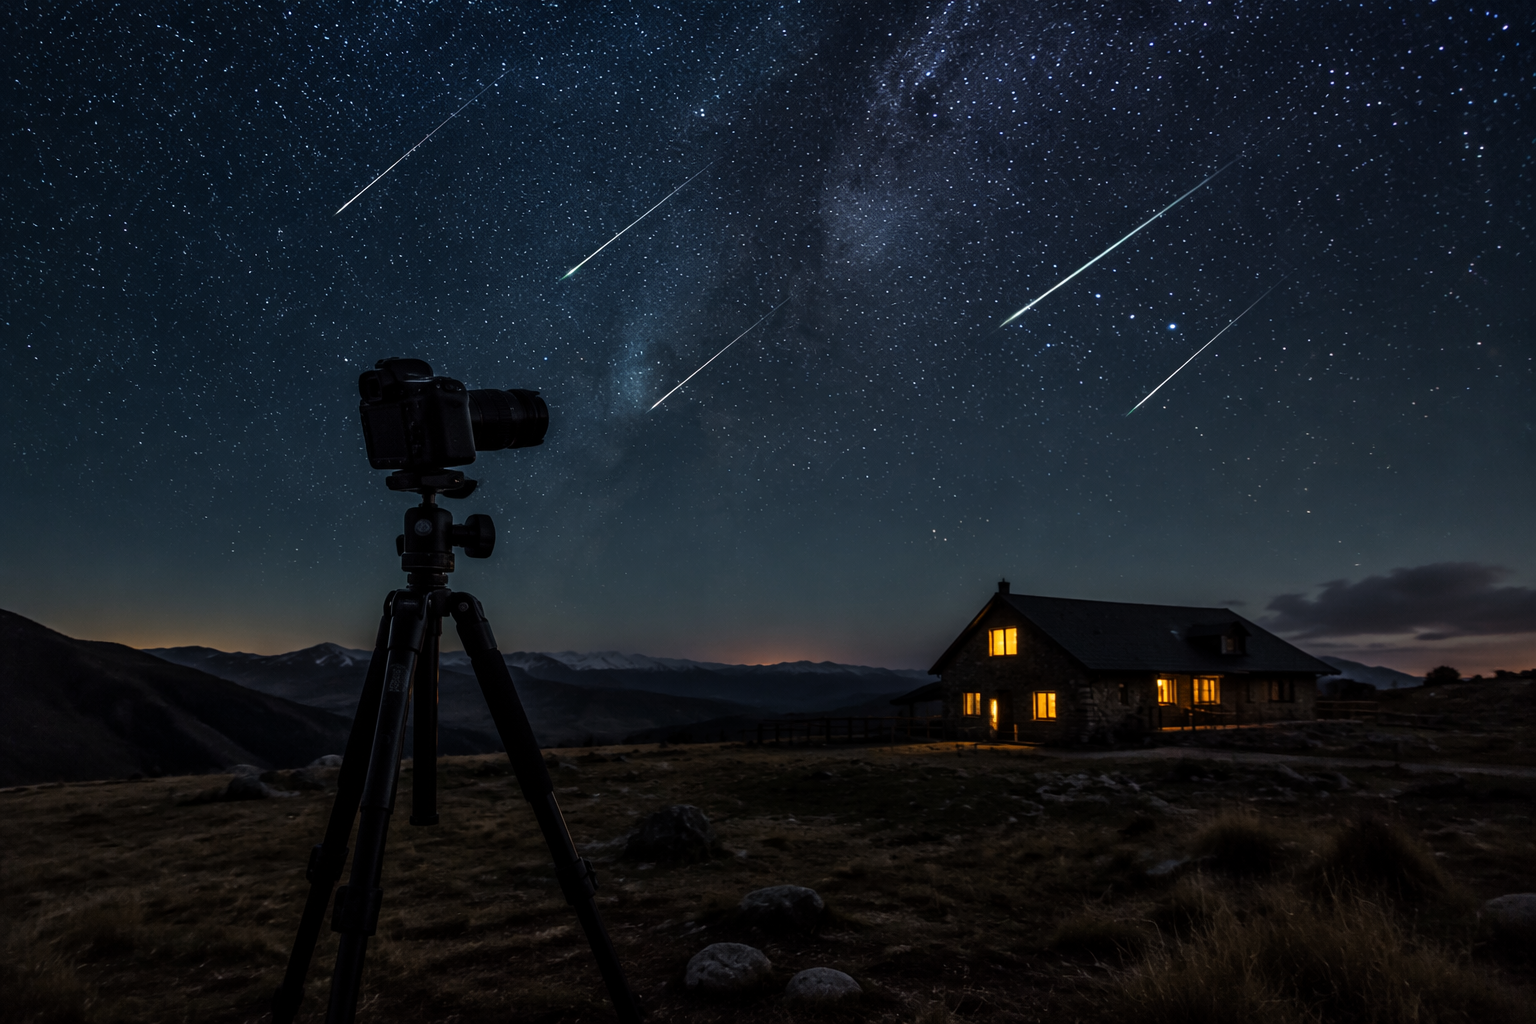
The Overnight Setup That Actually Works
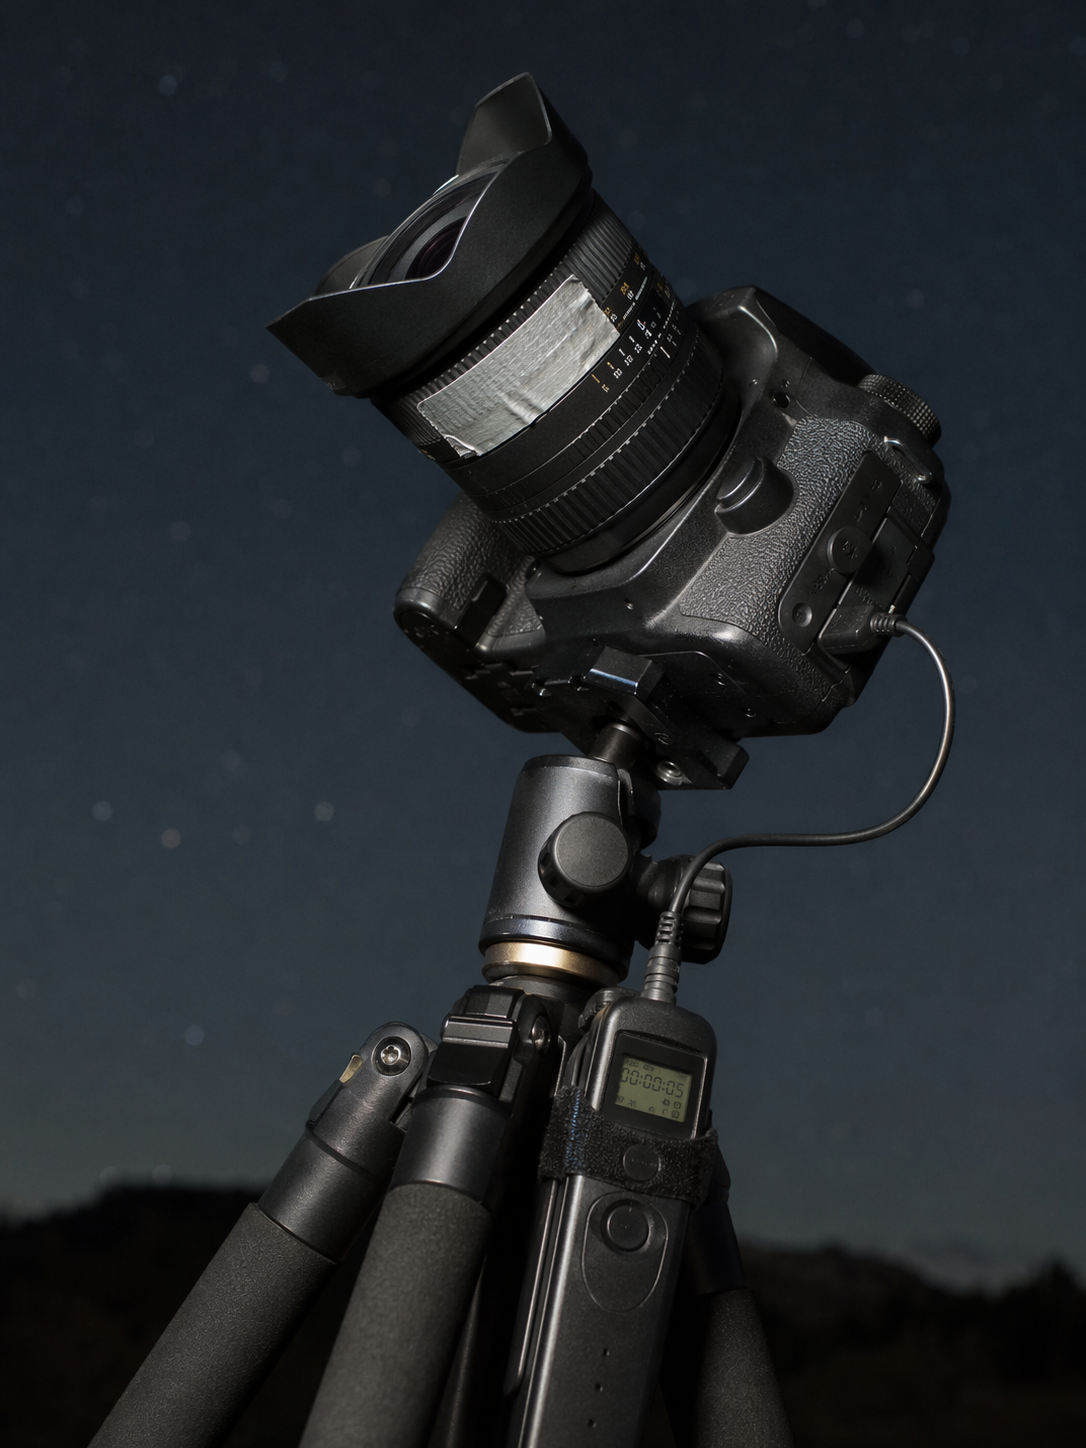
The basic kit is not exotic. You need a DSLR or mirrorless camera, a fast wide-angle lens, a sturdy tripod, an intervalometer, a large memory card, and enough power to last through the night. PhotoPills recommends a wide fast lens such as 14–24mm at f/2.8 or faster for meteor shower photography, which is exactly the kind of forgiving field of view you want when nobody is standing there to reframe after every missed streak.[4]
- Camera: DSLR or mirrorless body with manual exposure control.
- Lens: wide-angle, ideally 14–24mm and f/2.8 or faster.
- Support: sturdy tripod, preferably weighed down if wind is possible.
- Triggering: wired or wireless intervalometer, unless your camera has a reliable built-in interval timer.
- Storage: 64GB or larger memory card, formatted before the session.
- Power: fresh batteries, AC power for a home setup, or an external DC battery solution for a remote setup.
At home, AC power is the least dramatic and most reliable answer: dummy battery, adapter, extension cord, weather-safe routing, done. In a field, you are into DC adapters, power tanks, or deep-cycle batteries, and the consequences of guessing wrong are simple: the camera stops while you are asleep. Cold conditions make that worse. The common estimate of six hours producing roughly 700–900 frames assumes average conditions, 15–25 second exposures, and short gaps; it is a planning range, not a promise.
Do the Fussy Work Before Dark
The camera can watch the sky while you sleep, but it cannot fix a sloppy setup. The boring chores before bedtime are the difference between a useful morning card and hundreds of soft, fogged, or wind-shaken frames.
Focus once, then lock it
Set focus manually. Do not leave autofocus hunting in the dark. Before nightfall, use live view on a distant object such as the moon if available, a far treeline, a mountain ridge, or a distant light. Zoom in on the rear screen, sharpen the target, then switch the lens to manual focus if it is not already there. Once focus is right, tape the focus ring with gaffer tape. Not painter’s tape, not hope, not a careful warning to yourself. Tape it.
After dark, take test frames and inspect them at high magnification. If you can tether to a laptop briefly, do it. If not, zoom in on the camera display and check star sharpness. A meteor across an out-of-focus frame is not a near miss; it is just a missed frame with evidence.
Make dew somebody else’s problem
Dew is where unattended meteor photography gets humbled. A lens can look fine at bedtime and be useless by midnight. Use a USB-powered dew heater strap around the lens barrel if you have one. If you do not, adhesive hand warmers held with a rubber band can help. A slight downward angle, roughly 5–10 degrees, can also reduce direct dew formation on the front element. None of this is glamorous, which is why it gets skipped, and why so many overnight sessions fail quietly.
Stabilize the tripod like you will not be there to save it
Extend the thickest tripod sections first, keep the center column low, and hang a camera bag from the center hook if wind is possible. Check the forecast before committing gear to the night. A passing gust does not care that you were finally sleeping well.
Camera Settings for a Sleeping Photographer
The goal is not one heroic exposure. It is a long chain of short exposures with as little dead time as possible between them. NASA’s meteor photography guidance points photographers toward a wide-angle lens, tripod, manual settings, and repeated long exposures rather than waiting for a meteor and reacting by hand.[5] PhotoPills gives the practical exposure range: 15–25 seconds at ISO 1600–6400, with exposure time constrained by focal length if you want stars to stay sharp.[4]
| Setting | Starting Point |
|---|---|
| Mode | Manual |
| Aperture | Wide open, such as f/2.8 if your lens allows it |
| ISO | 1600–3200 to start; 6400 only if your camera handles noise well |
| Exposure | 15–25 seconds, shortened if stars trail at your focal length |
| Interval gap | 2–5 seconds between frames |
| File format | RAW plus large JPEG for faster morning review |
| White balance | Fixed value, not auto, to keep frames consistent |
Use the 500-rule as a starting check for star trailing: divide 500 by your focal length to estimate the longest exposure before stars begin to stretch noticeably on a full-frame camera.[4] With modern high-resolution sensors, you may still prefer to shorten that a bit after reviewing test frames. The point is to choose the longest clean exposure your setup will tolerate, then let the intervalometer repeat it without negotiation.
Program the intervalometer before you are tired. Set the exposure length, the short delay between frames, and the total run time. If your camera has long-exposure noise reduction turned on, consider turning it off for this job; otherwise the camera may spend extra time processing after each exposure, cutting into sky coverage. Test the intervalometer for several frames while you are still outside.
Where to Point It When You Will Not Be Watching
A fixed camera is honest but limited. It cannot follow the best-looking patch of sky, chase a bright meteor trail, or react when clouds move through one area. A human observer can adjust. A sleeping photographer cannot. That is why the wide lens matters so much: 14–18mm gives you more sky coverage, even though individual meteors appear smaller in the frame.
For the Perseids, do not aim directly at the radiant as if it were a target. Meteors that appear farther from the radiant often make longer streaks across the image. A broad, dark section of sky away from obstructions is usually more useful than a clever composition that gives the camera half a tree, a roofline, and a narrow slot of stars. In 2026, the new moon removes the usual problem of avoiding bright moonlight during the peak, so you can choose the cleanest dark sky your yard or site gives you.[2]
Composition still matters, but it should not bully the workflow. If you are staying asleep, prioritize sky coverage, darkness, sharp focus, and a stable frame. A beautiful foreground does not help if the camera spends the best hours pointed into a damp branch.
The Risk Check Before You Go Inside
Home-yard setups are the cleanest version of this method. You can keep the camera visible from a window or door, run safer power, check weather quickly, and retrieve the rig without driving half-awake before sunrise. Public parks and remote pullouts are a judgment call. Expensive camera gear on a tripod is not theft-proof because the photographer is sleeping somewhere else.
- Set up where the camera is not visible from a public road if you are shooting from home.
- Avoid unattended public-site setups unless you can accept the loss risk.
- Check the clear-sky forecast and wind before leaving the camera outside.
- Route cables so nobody trips over them in the dark.
- Keep weather protection ready, but do not seal the lens in a way that traps heat or blocks the view.
Battery and card capacity deserve the same plain treatment. A full battery that lasts comfortably on a mild evening may sag on a colder night. A memory card that looks roomy may fill quickly if you shoot RAW plus JPEG for hours. Use freshly charged batteries, start with an empty card, and base your plan on your own camera’s past behavior rather than the best-case estimate from somebody else’s kit.
Why 2026 Rewards This Method
Automated Perseid photography gets better when the sky is dark for a long stretch. That is the simple reason 2026 is worth planning for. With the peak on August 12–13 and the new moon on August 12, the camera is not fighting a bright lunar wash during the main window.[2][3] More faint meteors have a chance to register, and the frames are easier to process afterward.
That does not mean every year works this well. In a bright-moon year, the same unattended setup may still catch brighter meteors, but the payoff drops because the background sky is brighter and faint streaks disappear. The workflow remains legitimate; the expected yield changes. This is one of the years when letting the camera run all night is especially defensible.
A Bedtime Sequence That Does Not Depend on Willpower
The cleanest version of the night is decided before you are sleepy. Do the thinking early, then follow the same order every time.
- Charge batteries, format the card, and set the camera to RAW plus large JPEG.
- Mount the wide lens, focus manually before dark, and tape the focus ring.
- Set the tripod in a stable, safe location with a broad dark view of the sky.
- Add dew protection before the lens starts fogging, not after.
- Dial in manual exposure settings and shoot several test frames.
- Program the intervalometer for continuous frames with a short gap.
- Let it run for an initial check, confirm the files are recording, then go inside.
- Set an alarm for dawn retrieval.
That first check matters. It catches the stupid failures: intervalometer not firing, lens cap still on, focus bumped, dew heater unplugged, tripod slowly settling into soft ground. Once the test sequence looks right, there is no prize for hovering outside until 2 AM.
Morning Review: Find the Meteors Fast
At dawn, bring the camera in before heat, dew, pets, kids, or neighbors add new variables. Copy the files before deleting anything. The large JPEGs are there to save time: scroll through previews quickly, about one or two frames per second, and look for straight bright streaks that appear in a single frame. Airplanes usually show dotted or repeated light patterns. Satellites tend to move more consistently across consecutive frames. Meteors are brief, sharp, and often tapered or color-tinted.
Mark the keepers, then go back to the RAW files for editing. If you captured several meteors from the same locked-off composition, you can stack selected frames in Photoshop, StarStaX, Sequator, or similar software to make a composite. If you only caught one good meteor, edit that frame cleanly and be done. A single sharp Perseid over a quiet yard is better than a bloated composite made from marginal streaks.
For a sleep-conscious photographer, automated Perseid photography is the legitimate choice, not the consolation prize. A camera on an intervalometer can collect more sky time than most people can sanely watch, and the professional protocol already allows the part that matters most: retrieve it at dawn after sleeping.[1] The best Perseid photo is the one you can get without borrowing time from tomorrow.
References
- How to Photograph Meteors with a DSLR, American Meteor Society
- Perseid Meteor Shower 2026: Perfect New Moon, The Weather Channel
- Perseid Meteor Shower 2026 Guide, Space.com
- Meteor Showers 2026: The Definitive Photography Guide, PhotoPills
- How to Photograph a Meteor Shower, NASA Science
Comments
Join the discussion with an anonymous comment.